Greetings!
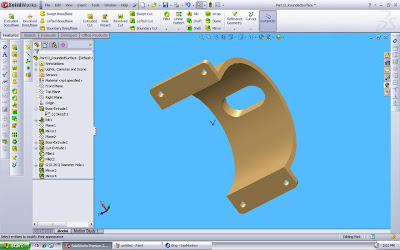
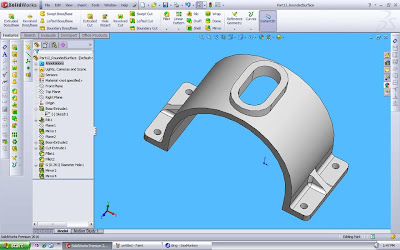
Today's exercise is quite interesting as it involves various features such as the creation of additional Planes, Extruded Boss/Base and Cut on a rounded surface, Mirroring items, and the creation of a Rib.
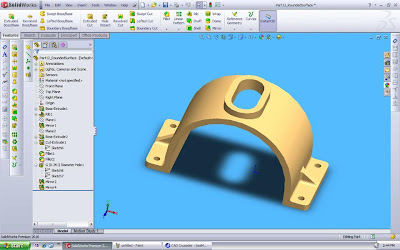
THE LAYOUT
ANOTHER VIEW MODE
SOLIDWORKS, Part Design 5, Sketch Exercise1
Greetings folks, here is a good exercise for you to sharpen your sketching skills or simply to just to refresh your genius mind! It's also great for "killing time", if you are too bored with nothing to do (hmmm...nothing to do? Does it happen to a lot of people?) and are about to grab that TV remote control. Have fun. Email if you are a novice in the field and have any question. Cheers.
Labels:
PART DESIGN
Angular Measuring Tool Assembly
Yesterday I posted an entry showing two parts I had designed which together would result into a Measuring tool. Today I want to show you how the tool looks like when both those components are assembled together. This was a very simple Assembly process, all it took me was to Mate both units using the Concentric option. Here it goes, some of the views of the Assembled tool. Smiles.
Labels:
PARTS ASSEMBLY
Angular Measuring Tool
Greetings Folks!
Couple of months ago a Ceramic artist and instructor asked me to help him materialize one of his inventions using a Designing software. It was a tool he had created to help artists (ceramic artists) do angular measurements without having to spend too much time around this task and at the same time to enjoying the benefits of accuracy which this tool would provide. It was a lot of fun to be part of his endeavour. Here it goes, I posted a few views of both parts that make up this tool so you can see it. You will notice that several angular features were used to add the "holes" onto the wooden piece.
Labels:
PART DESIGN
Subscribe to:
Posts (Atom)